# Installation Guide
## 1. Create site in Gigya console
> **NOTE:** (You can skip this step if you already have a site configured and the API Key ready to use.)
1. Access your Gigya Console from [https://console.gigya.com]() with your credentials.
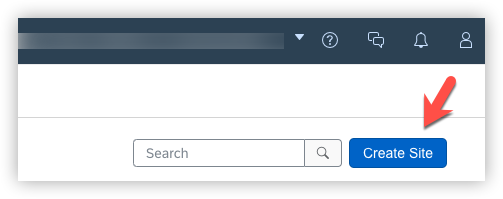
2. If you have site creation capabilities, on the main screen, click on **Create Site**.
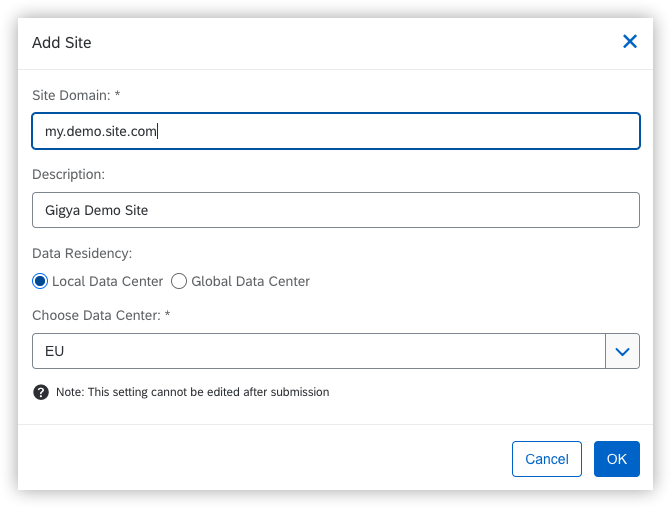
3. Add basic data for the site, including **site domain**, **description**, and **datacenter** to be used. Use the nearest one from your location in case of doubts, and click OK.
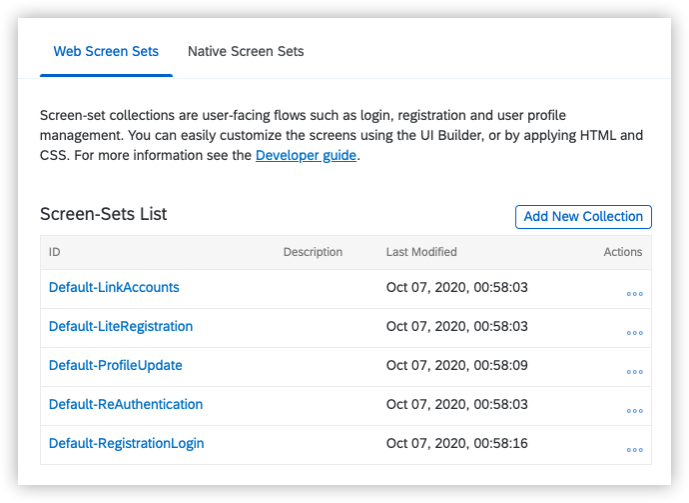
4. Click over the Screensets tab to generate a first default set of screensets (starting with **Default-_ScreensetName_**)
You're done here.
## 2. Demo app Installation
Now that we have a site in Gigya, we can include it in a web project. To do it:
1. [Download](https://github.com/gigya/cdc-starter-kit/releases) or clone the project into your web folder.
```
git clone https://github.com/gigya/cdc-starter-kit my-cdc-demo-app
```
1. Look for the line below and change the placeholder **__API_KEY__** inside ```index.html``` and ```edit-profile.html``` files, commenting or removing the example provided by default.
```html
```
1. Navigate to ```http://localhost/my-cdc-demo-app```
1. Enjoy!
## 3. Next steps
Once you have the site working, it's time to go deeper reading the [Basic Guide](basic.md), where you will be able to adapt the site to your needs.